I have previously written about my motivations and hopes for rebuilding my site, but I also wanted to write in more detail about the technical process.
To understand how I ended up with the architecture of this site, we have to go back to 2008, when I added a Wordpress install on top of my preexisting Flash portfolio site. It was quicker to keep the two separate and not have to learn too much about using Wordpress, so the blog ended up in a subfolder (first /wordpress, then /notes), and the homepage remained a simple HTML page which embedded a SWF.
When I rebuilt the site without Flash in 2010, I did so by redesigning the Wordpress frontend and moving the install from its subdirectory to the root directory. I didn't like this setup as the site now lacked a dedicated portfolio page, so I moved Wordpress back into a subdirectory and built an extremely simple PHP script to pull portfolio project data out of an array and generate the HTML needed to present my portfolio projects in a grid on the homepage. This 'mini framework' eventually evolved to support other non-blog pages (e.g. "About Me"), where it would inject a common sidebar and header template. These are all things I should have done in Wordpress, of course, but it was installed at a subdirectory that I didn't feel like fiddling with, and I can't say I was that motivated to learn how to use it for anything except writing blog posts.
There were plenty of downsides with this system, the biggest of which was that I had to maintain two different, identical components to provide a consistent header, sidebar, and styles: one in the Wordpress theme, and one for my homepage. Maintenance was a challenge as well—fortunately, my host automatically updates my version of Wordpress to keep me safe from exploits, but occasionally those auto updates would break and I would have to figure out what was going on. Finally, maintaining local dev environments across various machines was tedious, especially given that LAMP development isn't in my day-to-day anymore.
To keep code and data well organized, and to make local environment setup easy, I needed a static site generator running on a language with modern package management tools. And fortunately those are very popular these days! I initially started with Jekyll but got bogged down in its configuration and being in unfamiliar territory with Ruby. A few months ago I thought I'd give it another shot with Gatsby. The advantages this time were clear: I use JavaScript and Node every day for work, so no unfamiliar language or environment set up to deal with. Additionally, Gatsby uses React and GraphQL which are two technologies I'm highly motivated to work with. And so with most mental hurdles removed, I could focus on the gruntwork of migration.
Exporting blog posts
I started by extracting all of my old blog posts out of Wordpress. I used Wordpress to Hugo Exporter to turn my posts into Markdown files, which are easily consumed by Gatsby. This went fairly smoothly, though there was some cleanup in the form of removing absolute URLs and fixing media embeds that had previously been handled with a Wordpress plugin. I also took this opportunity to consolidate the tags and categories I had given to each post.
Scaffolding the site
I started with a basic Gatsby install and laid out three main parts: the home page, the blog, and any remaining pages. All pages share a common layout template. The homepage is generated much like my old one, by iterating over a JSON object of portfolio items and adding a component for each one. The blog and additional pages are handled through Markdown. New blog posts are added to a posts/ folder, and any other pages are added to a markdown-pages/ folder. Following the steps outlined in Gatsby's reference, I set Gatsby up to parse Markdown files in those two directories and process them into standalone pages. Right now they share a template, but a next step for me will be to split them up as an "About Me" page requires far less templating than a blog post.
This work also got me in to client-side GraphQL, which I found to be straightforward and enjoyable. The most advance I got here was using the allMarkdownRemark query to filter out draft posts from being considered by Gatsby's page creation API. There's more for me to work on here as well—I am currently sorting the posts after the GraphQL query has returned results, but I could move that in to the GraphQL query itself.
Building the site
I ran in to two issues when I went to export my site with gatsby build. Both were similar, having to do with external libraries which make a reference to window. Gatsby is thrown off here because window is undefined in Node, so building a package that invokes window immediately will fail. Being a fairly common problem with Gatsby builds, they provide good documentation for how to work around this problem.
My first window problem was with processing.js, which I use in one very old blog post to run Processing code in the browser. Since processing.js has long since been abandoned in favor of p5.js, I could have ported the embed to p5, though I'm not sure if p5 is designed to support this problem either. Instead I solved it by removing processing.js as a build-time import and made it a dynamic import only when a post's frontmatter requests it to be loaded in.
The second problem was very similar, involving the boat animation in the top-left of every page. That is built using easel.js, which also expects window to be available. Because this library is used only within one component (and not, as it was with processing.js, on arbitrary blog posts), I could use loadable-components package to make my pages load the boat animation after the page has been loaded.
Deploying the site
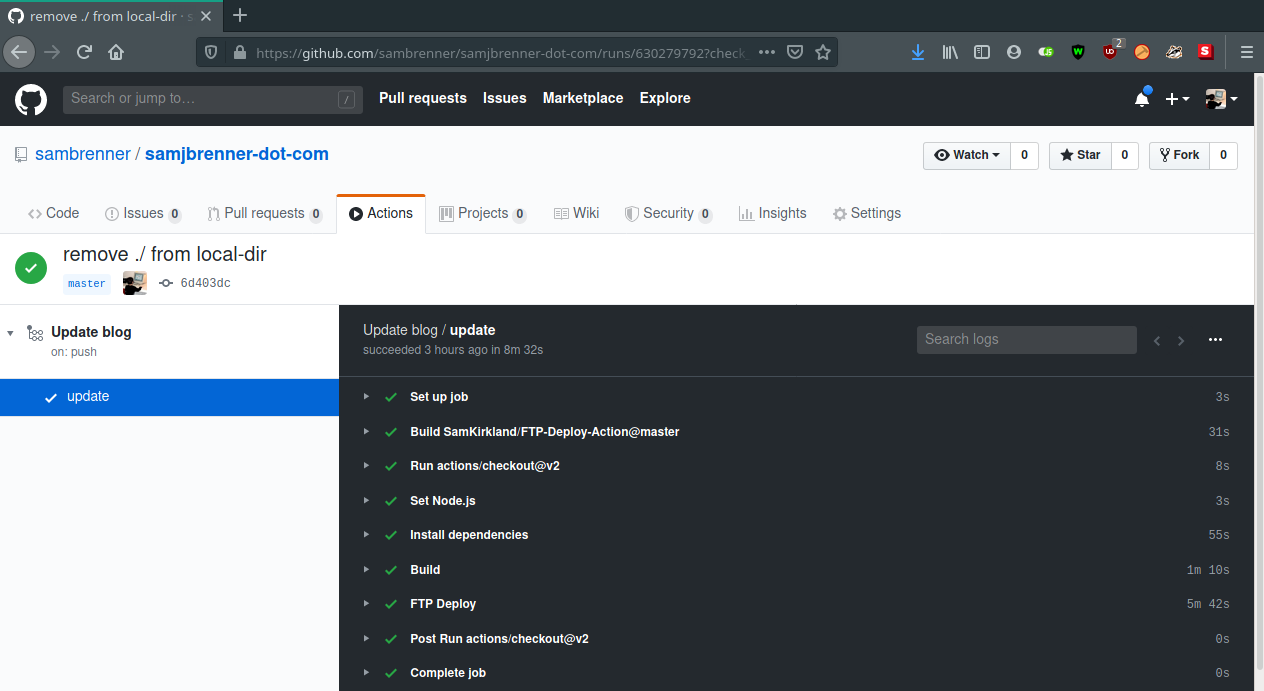
"git push to deploy" was always the light at the end of the tunnel for me as I worked on this project, so I was very excited to work on this part. It's also the part that had the most snags, and being depenedent on a remote build process, was also one of the more frustrating parts to debug.
I used Github's Actions functionality, which is free for public repos. It allows me to use a remote server to build and deploy my code any time I push to my repo. The advantage of having this process done remotely versus writing a local script to build and copy the files is so that I don't lose the ability to work on the site on a machine that isn't set up for development. The advantage of Wordpress is that I could just log in to my site and write a new post, a feature I would lose if I required a local dev environment set up to run gatsby build. With that task running remotely, I can use Github's web GUI to add new posts or make other code changes, and as soon as I commit it, they will spin up an environment to to the building and deploying. It's all the advantages of a static site builder and all the advantages of a self-hosted blogging platform combined!
Github Actions are configured through a file located at .github/workflows/workflow.yml, which is checked in to git along with the rest of your code. Here's what mine looks like:
name: Update blog

on: [push]

jobs:
  update:
    runs-on: ubuntu-latest
    steps:
      - uses: actions/checkout@v2
        with:
          fetch-depth: 2

      - name: Set Node.js
        uses: actions/setup-node@master
        with:
          node-version: 10.x

      - name: Install dependencies
        run: yarn install --prod --pure-lockfile

      - name: Build
        run: yarn run build

      - name: FTP Deploy
        uses: SamKirkland/FTP-Deploy-Action@master
        with:
          known-hosts: ${{ secrets.FTP_KNOWN_HOSTS }}
          ftp-server: sftp://samjbrenner.com
          ftp-username: ${{ secrets.FTP_USER }}
          ftp-password: ${{ secrets.FTP_PW }}
          local-dir: public
          git-ftp-args: --verbose --remote-root ${{ secrets.FTP_REMOTE_ROOT }}
Essentially, this tells Github that every time I push to my repo, it should:
- Spin up an Ubuntu machine
- Check out my repo
- Set up Node.js
- Install my repo dependencies with
yarn - Build my site with
yarn run build(which maps togatsby buildvia mypackage.json) - Copy the built files to my host's server via FTP
The actions are laid out as nodes within the steps field in the order that they should be executed. Many of the actions have a reference to a pre-made action via the uses field, for example, actions/setup-node@master, which refers to a repository containing a script to download and install Node.js. Other actions can use a run field to simply issue a command, such as yarn run build. (Here's a link to the full documentation for workflow files).
The most interesting action in my workflow is the last one, which takes the files built by gatsby and transfers them over FTP to my web host. I have been using a LAMP stack web host since I first migrated off of my college's server in 2008 and have been very happy with it. Even though I've now eliminated Wordpress, I still have a few side-projects and other parts of my site that are running on PHP (have you checked out AlphaBetaPedia lately?). So as easy as this would be if I was deploying my Gatsby site to something like Github Pages or Netlify, that's not an option I'm quite ready to take advantage of.
To do this, I used Sam Kirkland's FTP-Deploy-Action. It took some tinkering to configure correctly:
- I had a bit of trouble supplying a value for
known-hosts, which allows Github's action server to trust the connection to my host's server. The action's readme says it supported the functionality, but when I inspected the logs of my failed build, I noticed that it was skipping over the step where it should have logged out whether or not the known hosts were configured correctly. This led me to notice that even though themasterbranch of the repo contained this functionality, it was not a part of the most recent3.0.0release that I had been using. That was a simple fix on my end, but it's risky as far as long-term maintenance goes to keep my deploy tied to themasterbranch of this action. I opened an issue here about formally releasing theknown-hostsfunctionality. - The next issue I encountered was about not having permission to access the root folder of the FTP server. When I connect to FTP using a desktop client like Filezilla, I am automatically redirected to my home folder,
/home/(username)/. But apparently this is something I need to explicitly inform the FTP client used by the action. I fixed it by adding--remote-root ${{ secrets.FTP_REMOTE_ROOT }}to thegit-ftp-argsof the configuration options, which allows me to connect directly to my home folder. - Now that I was able to transfer files, I needed to make sure they came from and ended up in the right place.
gatsby buildoutputs the static site into a folder calledpublic, but I don't want that folder to exist on my web server, i.e. I don't want my site to live athttps://samjbrenner.com/public, I just want it to live athttps://samjbrenner.com. To do this, I added thelocal-dirargument which tells the action to use my generatedpublicfolder as the local root, and to make all remote paths relative to it.
As with any good project, there are a ton of next steps. The first one I need to work on is to optimize the deploy time, as currently my entire built site gets transfered over FTP every time, when most of the files haven't changed. FTP-Deploy-Action normally supports this through inspecting git's history for changes, but I'm intentionally keeping my built files out of version control for cleanliness. I could potentially move Gatsby's build to a git hook (pre-push?), or have the workflow process commit the built files for me. Expect a follow-up post soon!
So with that, it's goodbye Wordpress, hello Gatsby!