 For this week’s Physical Computing labs, we covered two topics: digital inputs and analog inputs.
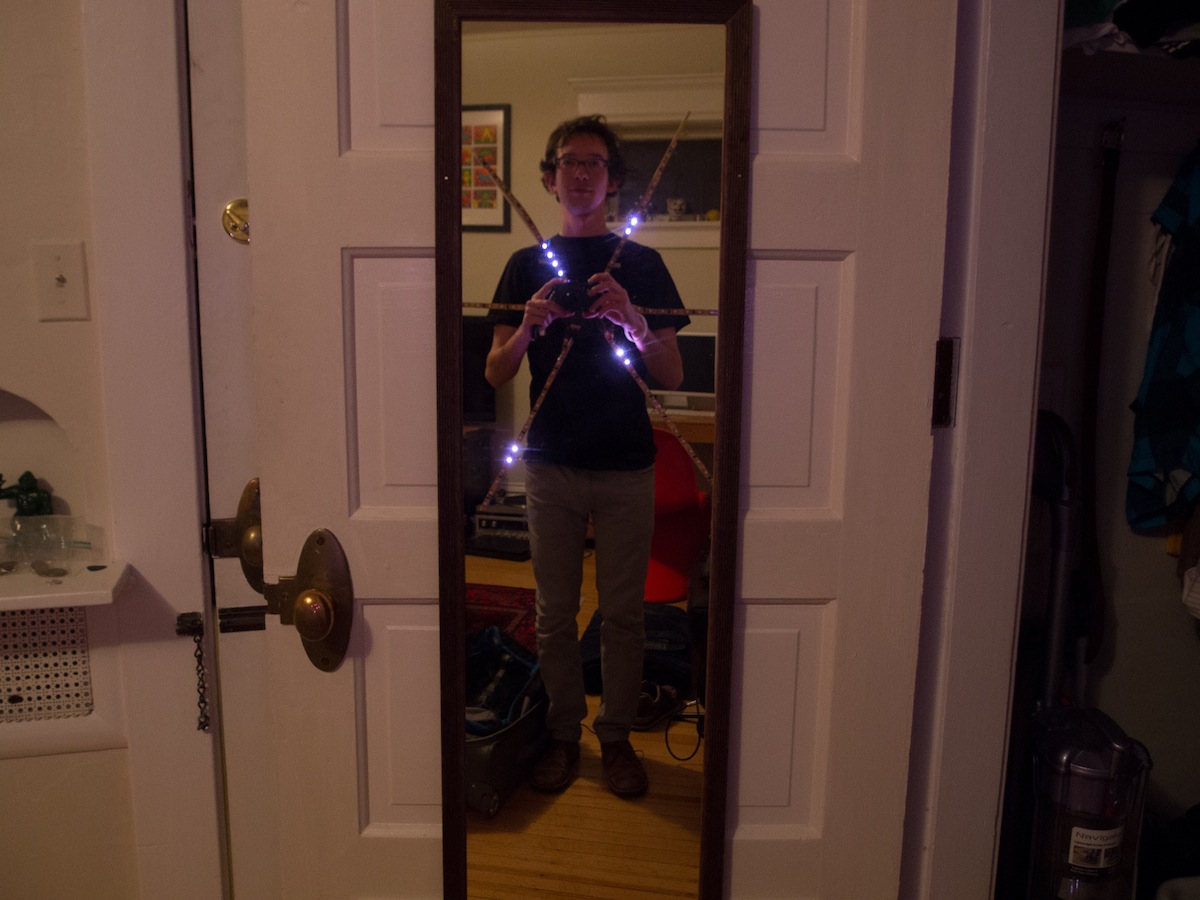
The analog assignment was to recreate a “luv-o-meter,” as found in dive bars across the country. Instead of grip pressure, I used a sonar rangefinder to detect proximity. This triggered lights on an RGB LED Strip (as previously seen in “Windows 95 Flying Through Space Screensaver: The Costume”, from the CP+B holiday party) to illuminate as the user approached.

Here’s a closeup of the rangefinder. It’s straightforward to use: supply it with 5 volts, ground it, and connect its analog output to the Arduino’s analog input. What the Arduino gets is a number from 0 (closest) to around 250 (farthest away). I scale that number from 0-16, for how many lights on the strip should illuminate, and tell the strip to do its thing.
The digital input lab involved making some sort of “locking” mechanism. I was inspired by this neat little 8-in-1 switch that I picked up at our local electronic parts supplier:

Using the switch, I built a “lock” where a green LED will only illuminate when the correct code is entered. Users also have the ability to change the code to something of their own choosing. Here’s a video of it in action:
You can see when I change the switch from “00000000” to “11000000,” the green LED turns off and the red LED turns on, meaning the code is incorrect. By connecting the circuit on the right side of my breadbord, I enter “set code” mode, and whatever position the switches are in when that circuit is disconnected becomes the new lock code. The security flaws in this are many, but fortunately the illumination of a green LED isn’t exactly a bounty worth “lockpicking” for.