Creative Computing: Week 3
CSS Layout and the Web Inspector
Assignments
-
Appropriate a Webpage: Open up the web inspector on a website of your choice and screencapture yourself playing with the page's HTML and CSS for at least 30 minutes. In your screencapture, we should be able to see both your browser window and your web inspector. While recording, try to break things and push the page as far as you can take it! If you want to refresh and start again, feel free. This assignment is as much about the performance as it is the technology. When you are finished, upload your video to Youtube or Vimeo. Due week 4.
Please do not pick a webpage that might reveal someone's private information, such as Facebook or your email inbox. Here are instructions for how to screencapture on a Mac.
- Build your Homepage: From now on, you will add a link to all of your assignments from the homepage of your class site. Build and style your homepage, including links to your Text Adventure and Appropriate a Webpage assignments. It can be as simple or as complex as you'd like. This is an ongoing assignment: it is not due until the final week of class, but you should keep it up-to-date from week to week.
- Prof. Dr. Style, Olia Lialina, 2010
Class Notes
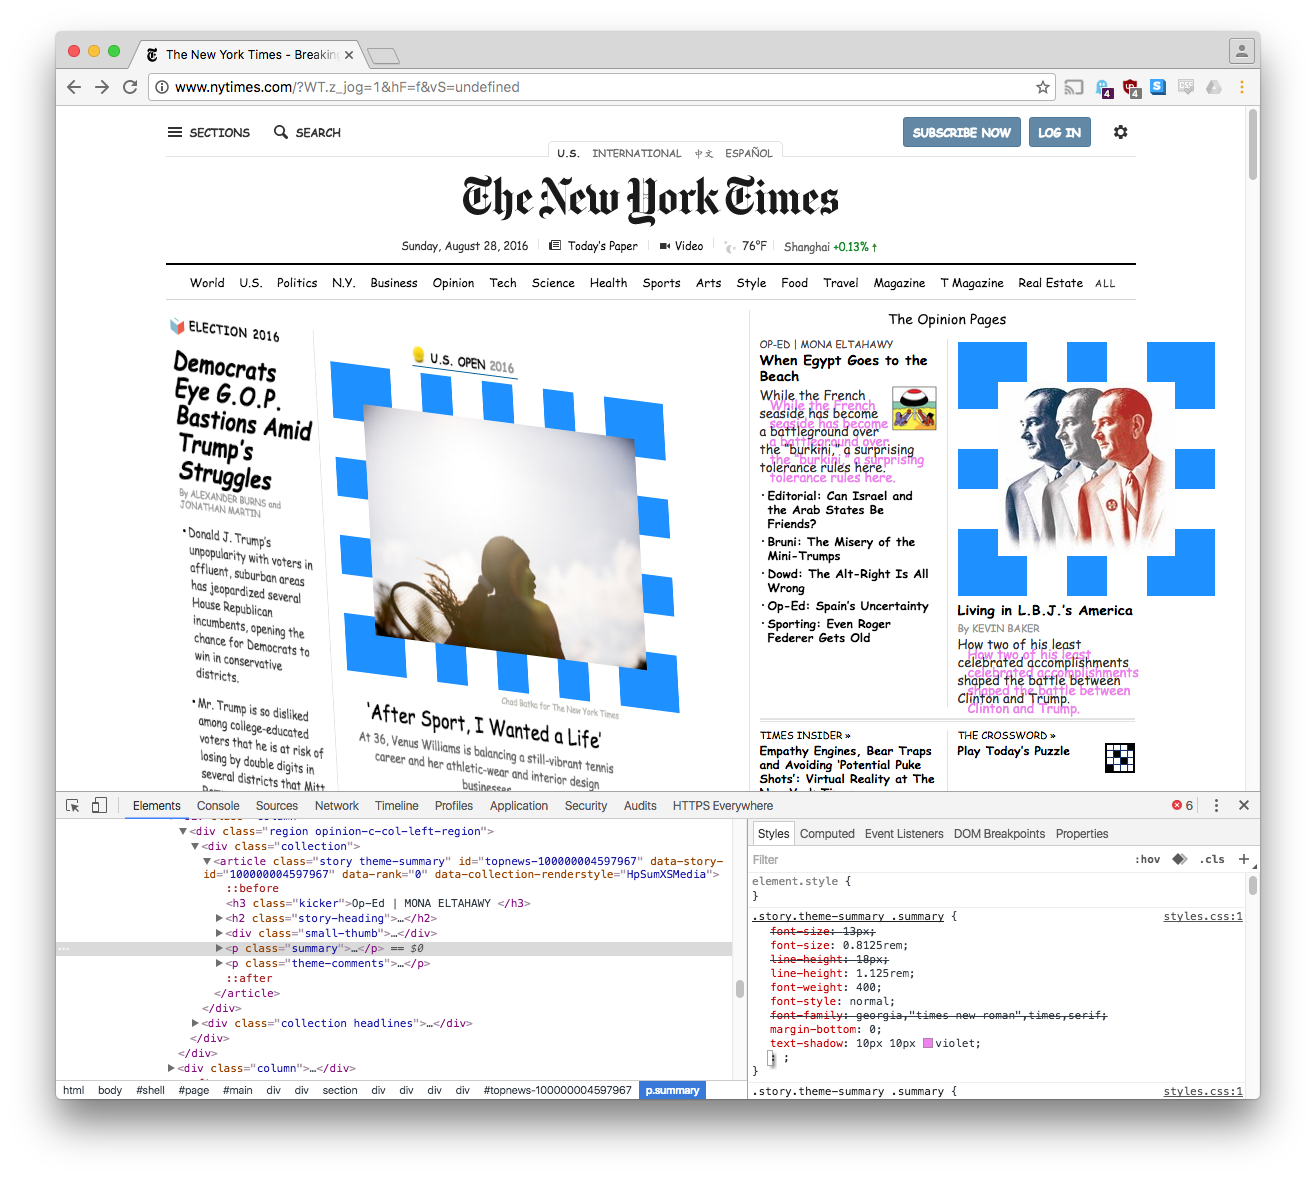
Web Inspector
The web inspector is a very important tool that will help us figure out what's going on with our websites. You can access the web inspector by right-clicking on your page and selecting "inspect."
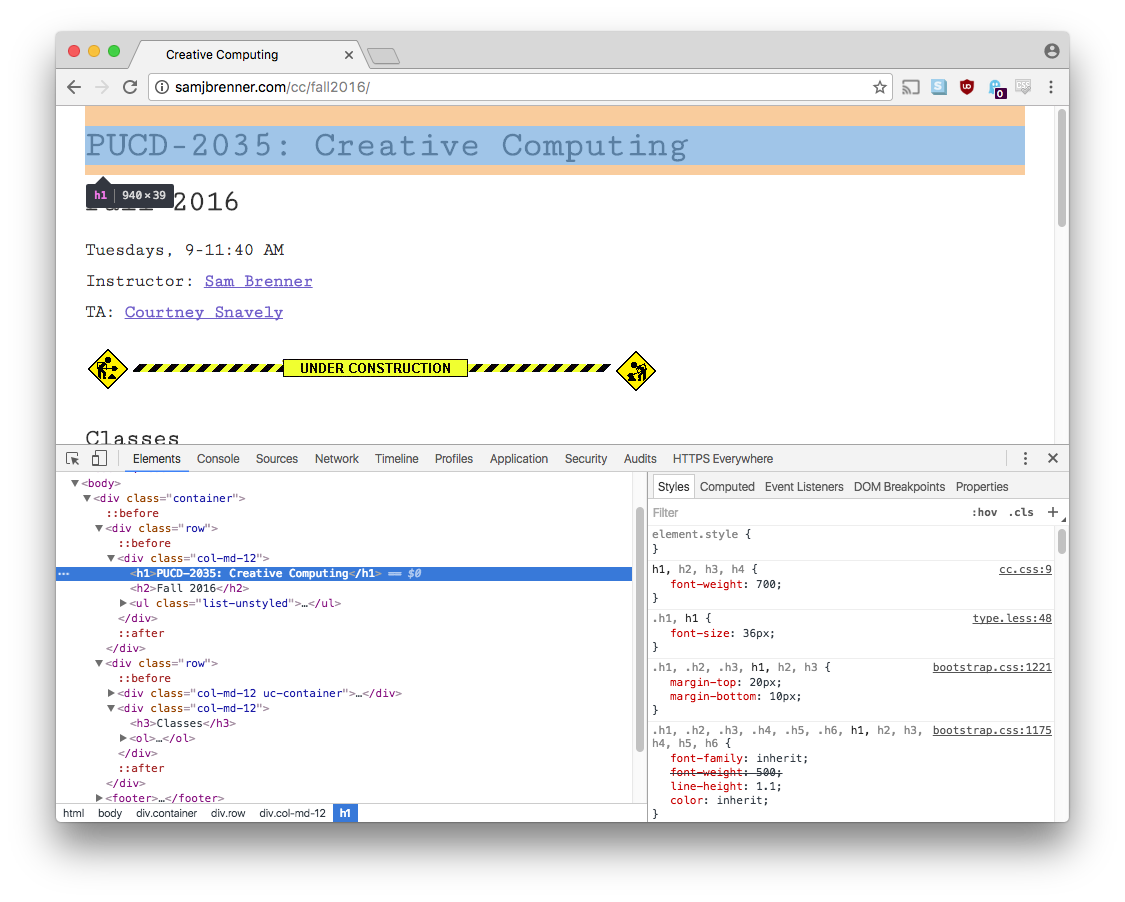
On the left of the web inspector you can see the elements of our page. Hovering over an element will highlight it in the body of the webpage. On the left of the inspector, you can see all of the styles that are being applied to that element. Styles can be applied from the browser it self (the default styles), or from a CSS file that we provide.
CSS Intro
By playing with some of the values on the right of the inspector, we can begin to explore CSS. In the links below, you can see documentation for all of the possible CSS properties and the specific values that they take. Some of the ones we covered in class are:
colorchanges the color of text. It accepts any of the preset named colors, a hex code such as#FF0000, or an RGB value likergb(255,0,0).background-colorchanges the background color of an element, and accepts the same colors as above.borderis slightly more complex as it takes a number of options, like2px solid red. We also saw howbordercan be broken down into more granular parameters, likeborder-color-top.line-heightandletter-spacingadjust some of the typographic qualities of text. They take a number and a unit, like20pxfor 20 pixels. There are other kinds of units but we will stick with pixels for now. You can also use negative values, like-20px.font-familywill change the font. There is a preset list of fonts that most web browsers have, these are called web safe fonts (we will cover custom fonts in a later class). Fonts also have many other properties likefont-weightandfont-size.
We can make our changes permanent by saving them in a CSS file and linking it to our HTML page. To do this, we can make a file called style.css (you can name it whatever you'd like, as long as it ends in .css). Then we can use the <link> HTML tag to load those styles into our page:
<link rel="stylesheet" href="style.css" />This code goes in the <head> of our HTML.
CSS Selectors
The browser needs to know which styles get applied to which HTML elements. To do this, we use selectors.
- To target every instance of a certain element, we can just use the element's tag name:
pora. - To target every instance of a certain element that is also inside of another element, we can separate tag names with spaces:
p awill select everyaelement that is inside of ap. - To target a specific instance of an element, we can give it an ID. IDs are added to the HTML as an attribute of the tag and then selected with a
#sign. For example, the HTML tag<p id="pickMe">Hello there</p>can be accessed with the CSS selector#pickMe. An element can only have one ID, and no other element on the page can have that same ID. - To target multiple elements that might not have the same tag name, or any specific subset of elements, we can use classes. Like IDs, classes are added to the HTML as an attribute of the tag and then selected with a
.. For example, the HTML tag<p class="blue pickMe">Hello there</p>can be accessed with the CSS selector.blue, or also with.pickMe. You can add many classes to an element and use the same class name as many times as you'd like for other elements. - There are many other ways to select elements that we will come across! Check some of the reference materials for a head start.
Bringing it All Together
By combining CSS selectors, properties and values in our style.css file, we can start to apply CSS to our HTML. The rules are as follows:
selector {
    property1: value1;
    property2: value2;
}
That is, you have your selector followed by an open and close curly brace. Inside of the curly braces, you can add as many property-value pairs as you wish. A property is separated from its value with a colon : and the pair is terminated with a semicolon ;. For example:
p {
    font-family: "Comic Sans MS";
    border: 3px dotted green;
}
or
#classwork .highlight {
    background-color: yellow;
}

#homework .highlight {
    background-color: pink;
}
Layout and Positioning
The box model determines how much space your elements will take up.
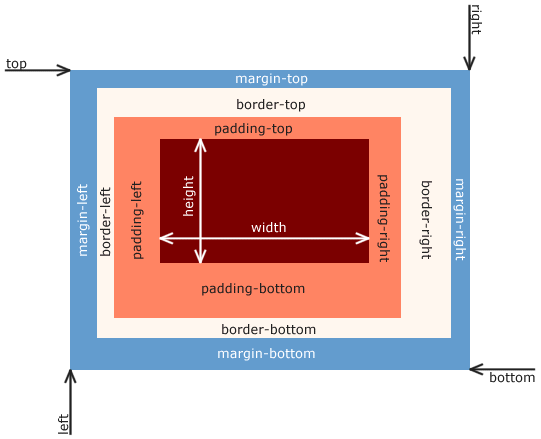
The best way to learn it is to use it! Select elements in your web inspector and play with their width, height, margin, padding and border properties. Also explore how the box model changes when you toggle an element between display: inline; and display: block;.
In addition to changing an element's side, we can change its position. The position property has five values:
-
staticis the default position mode. Unless the position is set elsewhere and you want to override it,staticwill have no effect on your element's position. -
relativewill allow you to move your element relative to its static position. -
absolutewill allow you to move your element to exact coordinates, or "absolutely," within its closest parent that has a position set. When you use absolute positioning, the element is removed from the flow of the document. This means other elements will behave as if the absolutely positioned one isn't there. -
fixedwill act the same way asabsolute, except that it stays in the same position relative to the browser window when you scroll the page. -
inheritwill give an element the same position that its parent has.
After setting a position, you can use top, left, bottom and right to move your elements around.
See the reference materials at the bottom of this page for more on CSS layout.
Terminology
- When the browser interprets our HTML file, it constructs many elements based off of our markup. An element is like a tag, but it also contains all of the tags nested within a tag.
- The thing that we use to pick which HTML element(s) we want to apply styles to is called a selector.
- The style that we want to set on an element is called its property, and the specific nature of that property is its value.
- The combination of the properties
width,height,margin,paddingandborder, which together control the size of your elements, is called the box model.
Keep in Mind...
- As of this class, you must use Google Chrome as your web browser.
- When submitting assignments, be sure to use the b.parsons.edu URL. The URL we use for testing - 0.0.0.0:8000 - refers to your local server and only works on your computer.